

This is going to be very pic heavy... Sorry. Until I can get a video that my memory card doesn't eat, this is all I've got.
I did a mini to try and find my mojo. I've watched loads of videos, and have notebooks FULL of notes on pages, layouts, and folds, I can't recall where or when I may have seen/gotten these ideas, but I was asked to do a tut by the wonderful ladies at CC (cropchocolate.com should anyone here not know what CC is!) who wanted to try something similar. Its taken a few days ,but here we go! The original is in my previous post, and while some of the things are moved around in this one, its the same basic style.
I used almost 4 12x12 sheets of cardstock, one of which was journal spots that I cut down for tags. This paper is form the Fancy Pants Winterland line. Such pretty non traditional colors!!
This is the paper I chose as the main section of the album.


Cut the score line from the top to the cross section score line. Same from the bottom, cut the center score line up to the cross section score line. You will have one strip in the middle that is 4" holding the two sides together. I hope that is easy to understand. If not, let me know and I'll mark the picture!


Here is the larger of the two pockets.

This is the smaller pocket, great for itty bitty tags, mementos, etc.

We can now start on the other pockets!
*You will need a 4 1/2" x 7 1/2" piece. Score it in half on the long side.
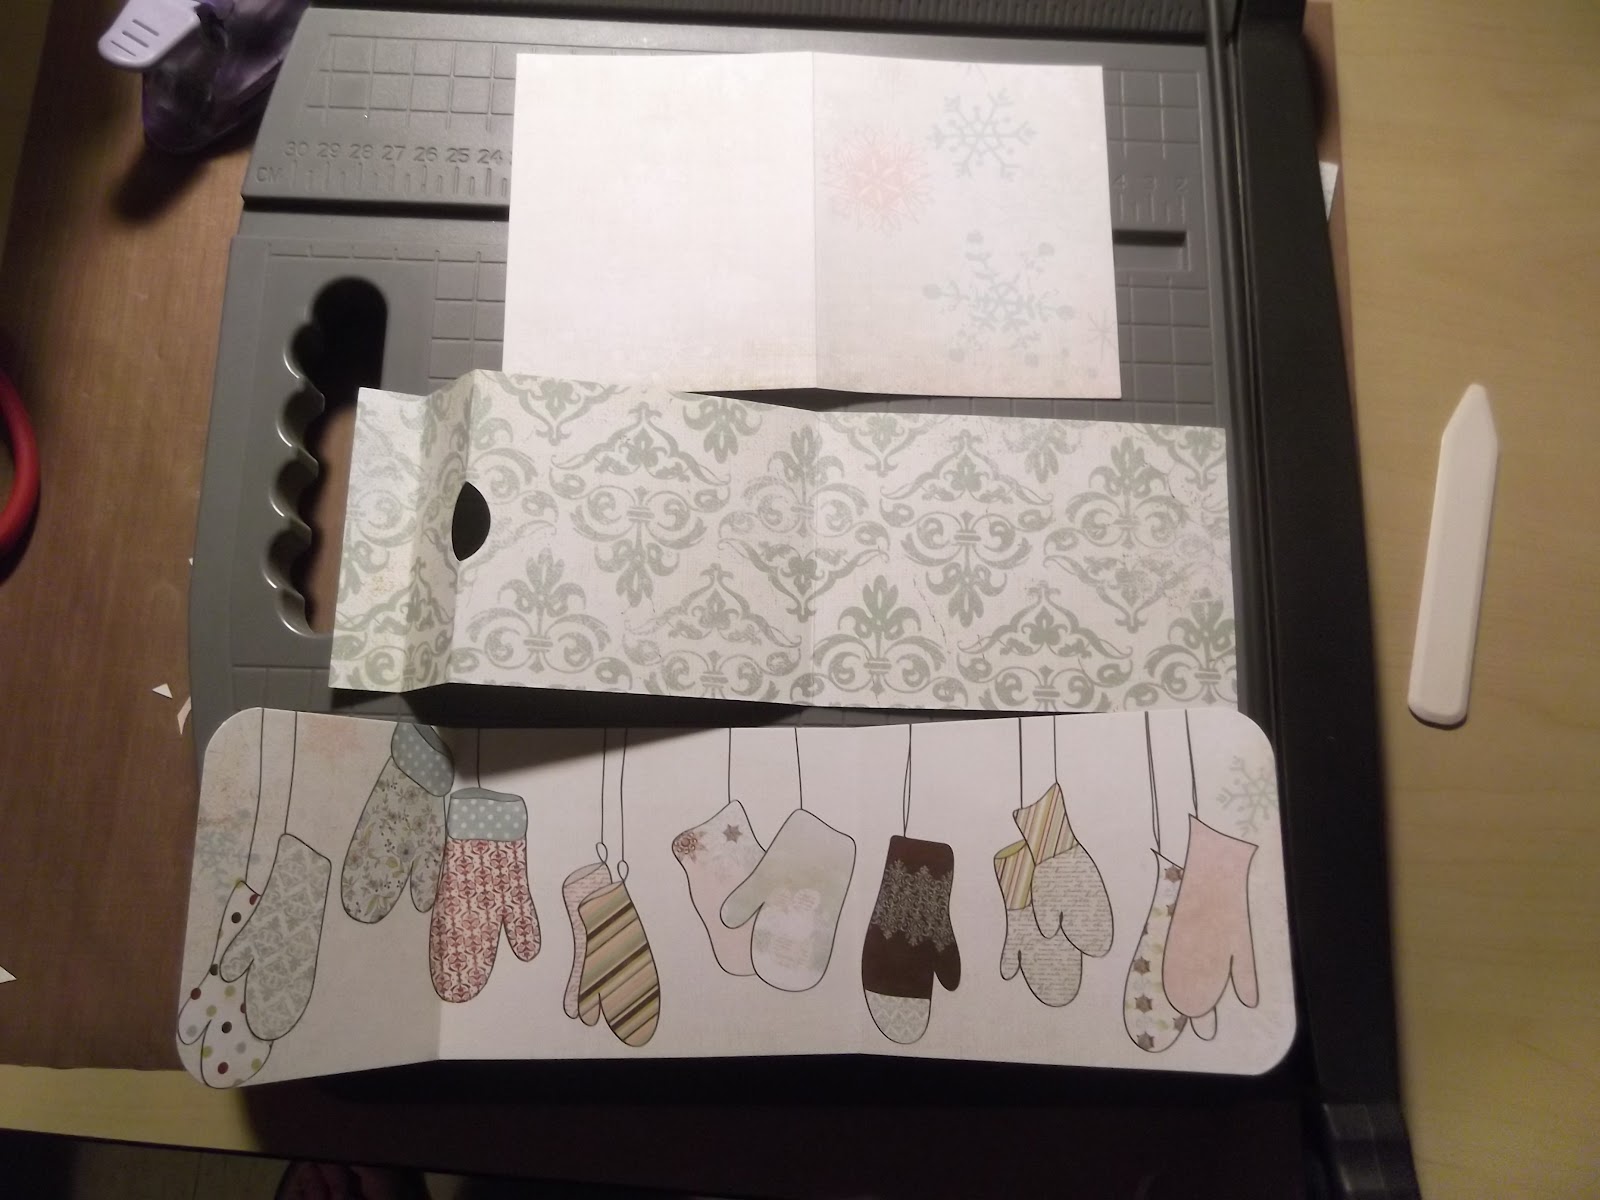
*One 3 1/2" x 11" piece, score at 3/4", 2", and 6" (the hole os from a circle punch, to show where one of the pockets are)
*One 3 1?2" x 12" piece scored at 3" and 7 1/2" (I rounded these corners because I decided that I wanted the mittens visible and wouldn't be making it into a pocket, you can glue the small flap down for a pocket if you prefer)

The first one, I attached to the top of the first 'page' I let a pocket under the right side for a tag, and the flap can hold three photos or a combo of pics and journaling.

For this one ( the 3 1/2" x 11") you glue the small flap down....
then the edges of section underneath to form a small pocket.

and then glue the sides under it to form a second pocket...

(One pocket faces left, the others face right)

This is the one that you could glue the small flap down and make another pocket, but I just adore those mittens! I figure it will be great for photos or journaling.

Now here are a few pics of the finished mini! I left the cover pretty bare, at least for now.


Lovely, lady! Love that mitten paper!
ReplyDeleteLooks great mamma!! As soon as the kids are out of my hair and I have my 2 current projects done, I'm gonna take a crack at this! Love it!
ReplyDeleteLove it!Pinning so I can try this one
ReplyDeleteI can't believe it takes only FOUR sheets of paper. That's fantastic! My parents love receiving minis with pics of my dd, and this is perfect!
ReplyDelete--Brenna
Love it, Gina! Going to try this out after this weekend! :-) Thanks for the tut!
ReplyDeleteBrittany
Gina!! Can't wait to try this!!
ReplyDeleteThis mini tutorial is great! Thanks for following my blog :) I am following yours now!
ReplyDelete